Save time by replacing your invoices with Stripe's new payment links
Stripe's recently released a feature that allows you to quickly create a checkout process without coding anything. I'm really excited about them for service businesses who still send manual invoices.

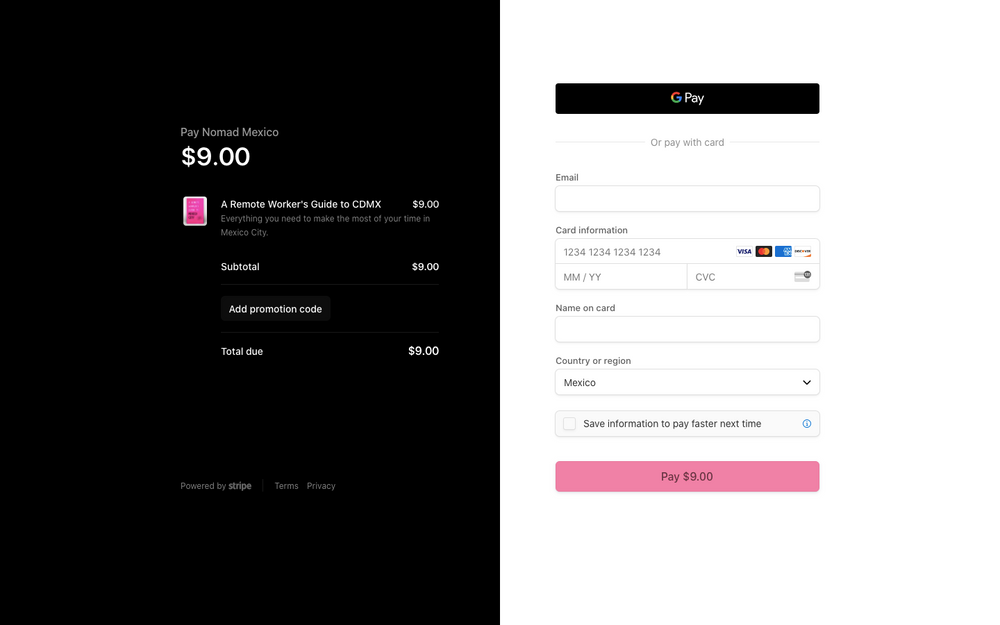
Stripe's recently released Payment Links allow you to quickly create a checkout process (and unlock all the features of Stripe) without coding anything. They are only a few months old and I'm already in love with them! 😍
There are lots of great use cases for Payment Links but I'm particularly excited about them for service businesses, especially since so many in the tech space are already using Stripe to process payments.
Service businesses usually benefit from the ability to be flexible with their pricing — either because they often test new pricing, or because they need to create custom plans, give one-time discounts, etc. It rarely makes sense to build these edge cases into a traditional checkout process so many still rely on manual invoices to collect payments.
Payment links are a great way to streamline this manual (and often error-prone) process!
How to Set Up
- Create a Product
If you already have Products set up in Stripe, you can skip this step! Otherwise, you'll need to create a Product for every service you offer. If you offer a service with different tiers, I recommend adding said service as one Product with multiple prices - e.g. quarterly, annual, lifetime, etc. - Create a Payment Link
You can use use Payment Links for both one-time payments and subscription products. Each price point will have its own unique URL so, going along with the example above, there would be a different link for quarterly clients, annual clients, and lifetime clients. - Create a Promo Code (Optional)
Stripe will give you the option to accept promo codes when you set up your Payment Links. If you regularly offer the same discount(s) to clients, this is a great way to solve for that part of your process. For example, we offer a nonprofit discount to hiring partners at Tech Ladies. Instead of having to create a whole different set of products, I can send a nonprofit partner the same payment link, along with the nonprofit promo code.
Bonus
Payment Links replace the invoice-making part of your process with a more streamlined solution. If you want to also speed up the process of sending these links to clients, then I recommend creating some shortcuts via TextExpander.
TextExpander allows you to turn short keywords into links, sentences, or even whole paragraphs of pre-formatted text. It's a game-changer for anyone in a customer support or client-facing role.
For example, I have shortcuts named zquarterlylinks, zannuallinks, and zlifetimelinks. Any time I type those phrases into my email client (or anywhere else), the phrase will automatically be replaced with a short blurb instructing the client how to pay and sign our contract for their respective plan - with all the proper links included.
Win!
Looking ahead
I've used Payment Links for a few projects so far and the only limitation I've run into is that you can't update the price of a payment link after the fact. So, if your pricing changes often, it's easy to end up with a lot of archived products floating around your Stripe account.
Stripe has been on fire lately with the new product launches though so I'm excited to see what, if any, product improvements they make to Payment Links over time.
Come along on my next adventure
Subscribe to my weekly newsletter for travel tips and posts like these


